

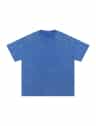
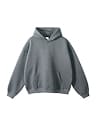
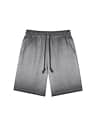
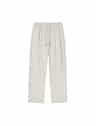

PUT YOUR ARTWORK ON THE RIGHT TEXTILE
Custom garment printing
Choose a print route that suits the artwork, fabric, placement and feel you want. Explore screen, digital and transfer methods, then use a representative sample to review detail, color and finish before the design is repeated across the order.
Not sure which method fits? Share the artwork, fabric and target finish.
Match the material
Start with fabric composition, garment color and the surface receiving the print.
Define the graphic
Set artwork dimensions, placement, color references and the required print feel.

Approve the result
Review an agreed print sample before quantities and finishing are released.
Explore the service
Compare printing methods and surface effects
Share the artwork, fabric and preferred effect. The methods below help frame the options for feasibility review; the suitable print route, preparation and sample work are confirmed in your quote.
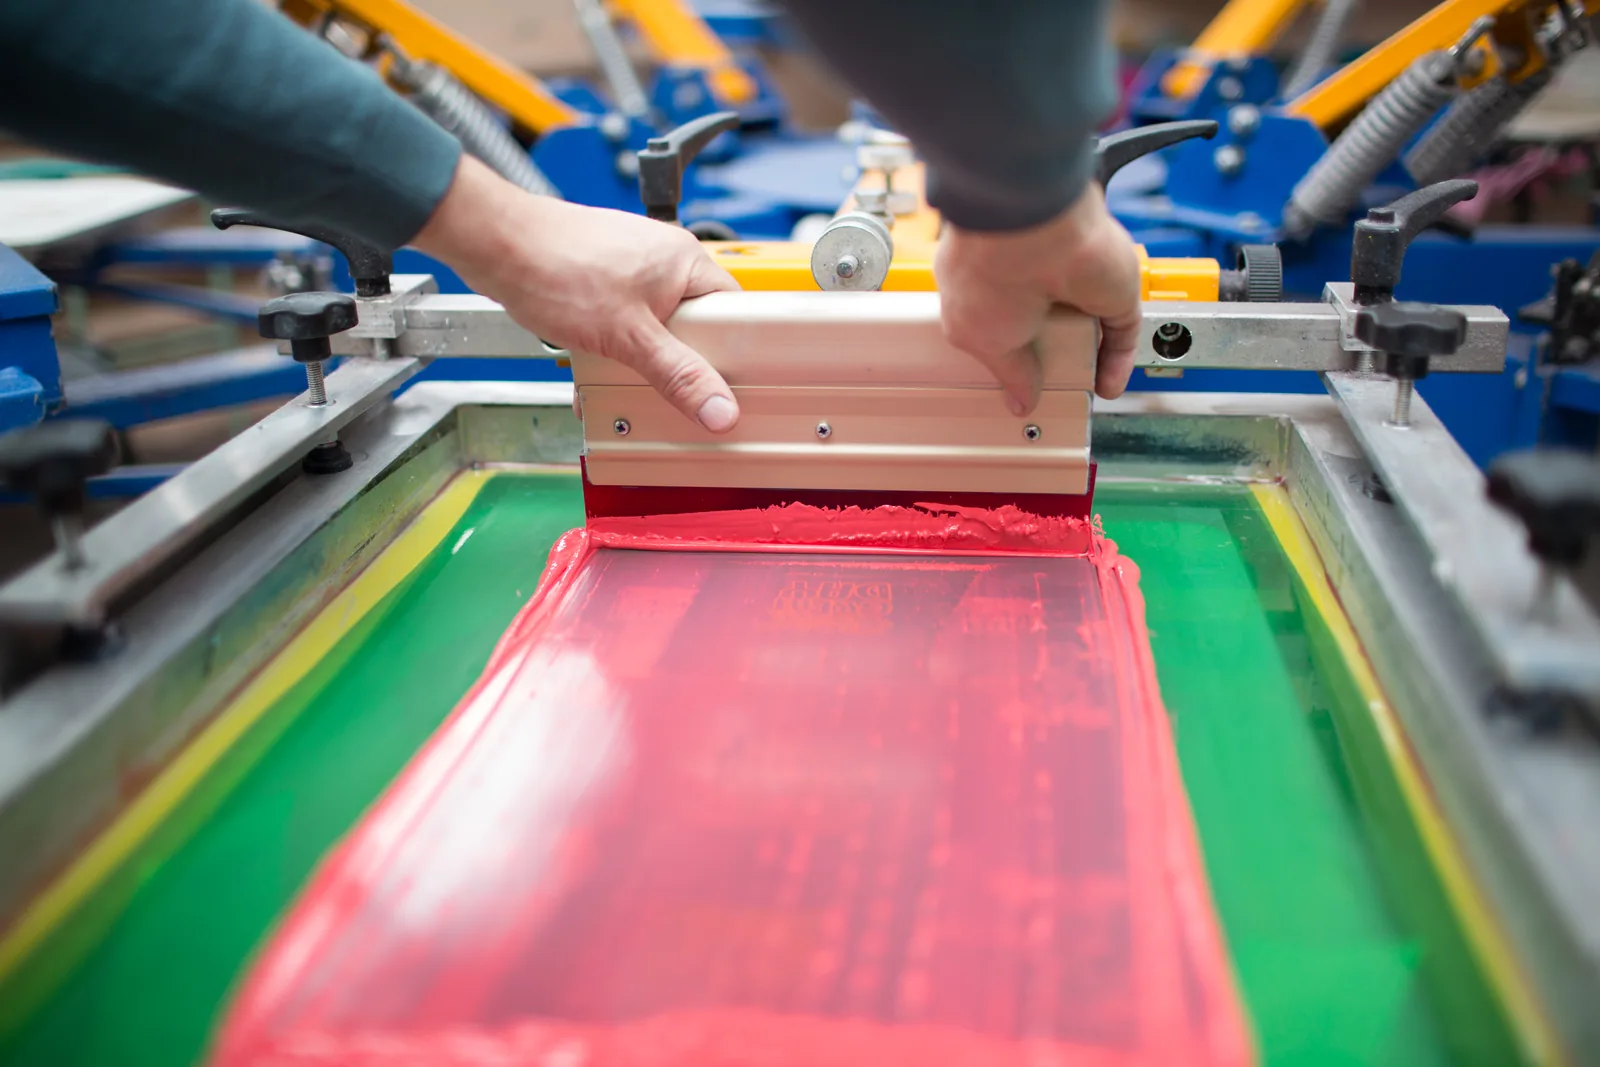
Screen printing
Screen printing builds a design through prepared screens. Solid brand colors, tonal artwork and photographic-style graphics need different separations. Start with the artwork, garment color, fabric and print size; the screen plan and sample should reflect the actual design rather than a generic method label.
- Spot-color designs
- Halftones
- CMYK/four-color process
- Simulated-process separations
- Manual or automatic press production
Screen-print ink systems
The ink system affects opacity, feel, stretch and compatibility with the textile. Water-based, plastisol, discharge and silicone describe different ink or chemistry choices; they are not interchangeable promises for every fabric. Review the base color, fiber content and required finish before selecting the sample route.
- Water-based soft-base inks
- High-solids water-based inks
- Plastisol systems
- Discharge printing on suitable dyed textiles
- Silicone inks for suitable stretch/performance textiles
DTG and digital garment printing
DTG applies a digital image directly to the textile rather than transferring a separate film. Fabric composition, garment color and surface preparation influence the result. A representative garment sample helps review fine detail, color, coverage and feel before the design moves into the required quantities.
- Direct-to-garment printing
- Full-color and tonal artwork
- Panel or finished-garment placement where compatible
DTF and digital transfers
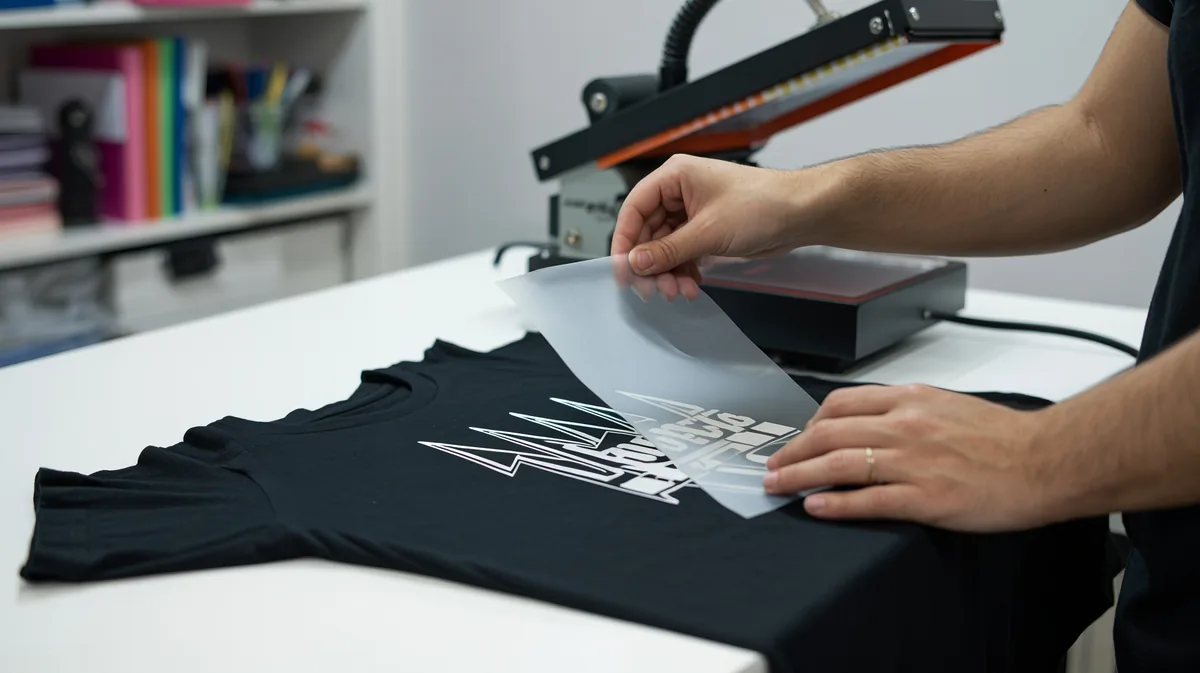
DTF carries the printed design on a film before heat application to the garment. It differs from DTG and from cut vinyl. Review the artwork, transfer dimensions, textile and pressing compatibility, then assess the applied sample for edges, color, feel and the care requirements of the finished item.
- Direct-to-film transfers
- Other digitally printed carrier transfers
- Print-and-cut transfers where appropriate
Dye-sublimation printing
Sublimation is a dye-based route associated with suitable polyester textiles, using transfer paper or a compatible direct-textile process. Standard dye-sublimation works best on white or light-colored compatible polyester; dark cotton needs a different print route. Confirm the fabric, base color, artwork repeat and panel layout before reviewing the color sample.
- Transfer-paper dye sublimation
- Direct sublimation textile printing
- All-over panel printing for suitable polyester constructions
Heat-applied graphics and transfers
Heat-applied graphics include screen-printed transfers, cut vinyl and printed transfer materials. The design may be printed or cut before application; the material and textile determine the pressing route. Share names, numbers, logos or graphic artwork together with the required finish and garment details for comparison.
- Screen-printed plastisol or water-based transfers
- Cut heat-transfer vinyl (HTV)
- Printed heat-transfer vinyl
- Flock, reflective, metallic or raised transfer-material variants
Special-effect print finishes
Choose the effect by the appearance and feel you need, then match it to a workable print route. Raised, textured, foil, flock and light-responsive finishes use different materials and preparation. Review the effect on the intended fabric; a photograph or effect name alone cannot establish the finished texture or care performance.
- Puff/raised print
- High-density print
- Suede and soft-texture effects
- Brittle/crackle appearance
- Foil
- Flock
- Glitter/shimmer/metallic/pearlescent
- Reflective appearance
- Fluorescent or UV-reactive appearance
- Phosphorescent/glow-in-the-dark requests, distinct from UV-reactive effects
Fabric and all-over printing
All-over describes design coverage, not a single printing method. For fabric, panel or compatible finished-garment printing, share the construction, usable width, artwork repeat and cutting layout. Digital, flat-bed, rotary-screen or industrial roller requests need a textile and production review; the quote identifies the confirmed route, colorant and sample requirements.
- Flat-bed screen fabric printing
- Rotary-screen fabric-printing requests
- Digital roll-to-roll textile printing
- Engraved-roller printing requests for industrial fabric production
- Pigment, reactive, acid or disperse colorant systems matched to fiber
Hybrid print combinations
Request a hybrid print review when the design combines screen-printed elements, digital color or added effects. Identify which parts need solid coverage, photographic detail or texture. A combined sample shows how the screen-printed base, digital color and any added effects work together.
- Screen-printed underbase with digital color
- Screen/digital combinations with compatible effects
What matters most in your print brief?
Start with the reference you have and make the missing decisions visible.
Keep the artwork tied to the garment.
Send the current artwork with a dimensioned placement reference, garment colors and quantity breakdown. Identify which colors or details must be preserved so file preparation and method selection can be assessed together.
- Current artwork and version
- Print size and position on each view
- Fabric, garment color and units
Describe the surface you want.
Share a reference and explain the desired feel: soft, raised, glossy, textured or another defined finish. Compare a suitable route on your actual garment rather than expecting a screen image to settle the production specification.
- Finish and color reference
- Preferred feel, opacity and stretch
- Sample and care approval requirements
Plan the print before assembly.
Connect the artwork to the pattern, repeat and material specification. Include orientation, seam allowances and matching points where relevant, plus the quantities and identification needed for the next production stage.
- Pattern or repeat layout
- Usable width and panel identification
- Print, fixation and handover scope
Send a brief that can be sampled
Keep the artwork and material information together; the same design may behave differently on another garment.
Artwork and reference
Send the current file and color or finish reference. Mark features that must remain legible and identify artwork that needs preparation.
Garment and fabric
State composition, construction, weight where known, garment color and any existing treatment. Explain who supplies the goods.

Size and placement
Give design dimensions and position on each view, measured from recognizable garment points. List size-dependent changes.
Quantity and acceptance
Break units down by style, size and color. Identify personalization, sample approval, care expectations and the next operation.
File preparation, separation, transfer supply, application and garment production are separate decisions to identify in the quote.
From print artwork to a finished textile reference
Match the print method to the artwork, fabric and garment. Resolve open fabric sourcing requirements before sampling, and coordinate printing with cut, sew and trim production where panels or garments need to move between stages.
Good questions
Printing questions
Clear answers before the work begins.
Which printing method is best for my design?
Fabric, garment color, artwork, placement, quantity and the desired feel narrow the options. A raised print, a soft detailed graphic and an all-over polyester design may call for different routes. Sample approval settles the selected specification.
Can I combine printing with embroidery or washing?
Share the complete sequence at the start. Heat, washing, embroidery access and placement can affect the result. Define the operation order and review a combined sample when the processes interact.
Do I need a vector file?
The useful file depends on the method and design. Send your current format, final dimensions and a visual reference. Any redraw, separation, resolution correction or other preparation should be identified before artwork approval.
What determines the quote and minimum quantity?
Method, setup, designs or colors, placements, print size, material supply and units affect the scope. Share the full breakdown for a project-specific quote rather than assuming one minimum or price applies to every route.
Your project, clearly defined
Send your artwork and garment details
Share the design file, final print size, placements, fabric and garment color, and quantities. Add a finish reference if you have one, and say whether you need transfers, work on supplied goods, printed panels or a complete garment project.
Send what you have and mark what still needs development. The quote will identify the next steps for your product.