



GIVE YOUR BRAND STITCH, TEXTURE AND DETAIL
Custom embroidery and embellishment
Bring logos and artwork into the garment through stitch and texture. Compare flat embroidery, raised textures, appliqué and patches, and share specialist details for review. Match the design to the garment, placement and use, then review a stitch-out or sample at its final size.
Bring a logo or texture reference; the sample should show the detail at its final size.

Choose the texture
Define a flat, raised, plush or applied finish with a physical or visual reference.

Respect the garment
Match design scale, placement and support materials to the fabric and construction.

Approve the stitch-out
Review the agreed sample before releasing the production file and attachment.
Explore the service
Explore stitch, texture and embellishment techniques
Share your preferred stitch or texture with the artwork, garment and placement. The groups below guide the options; production requirements are reviewed before the quote and sample plan identify the confirmed technique.
Flat embroidery, logos and lettering
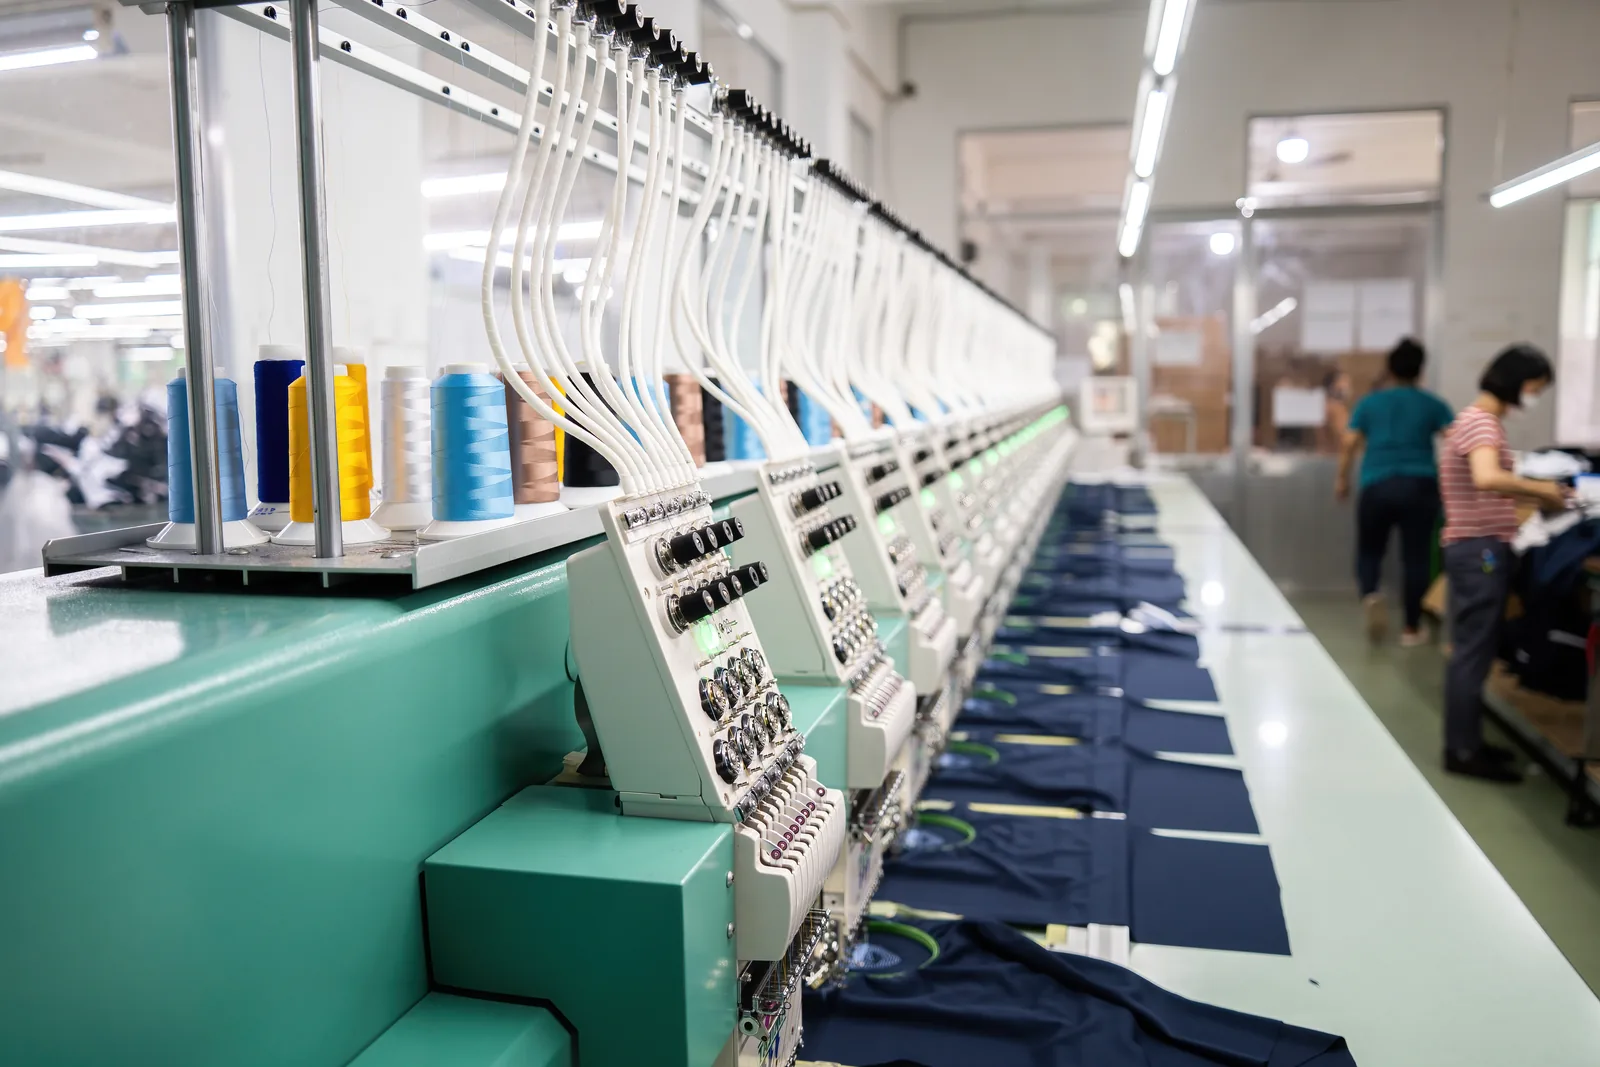
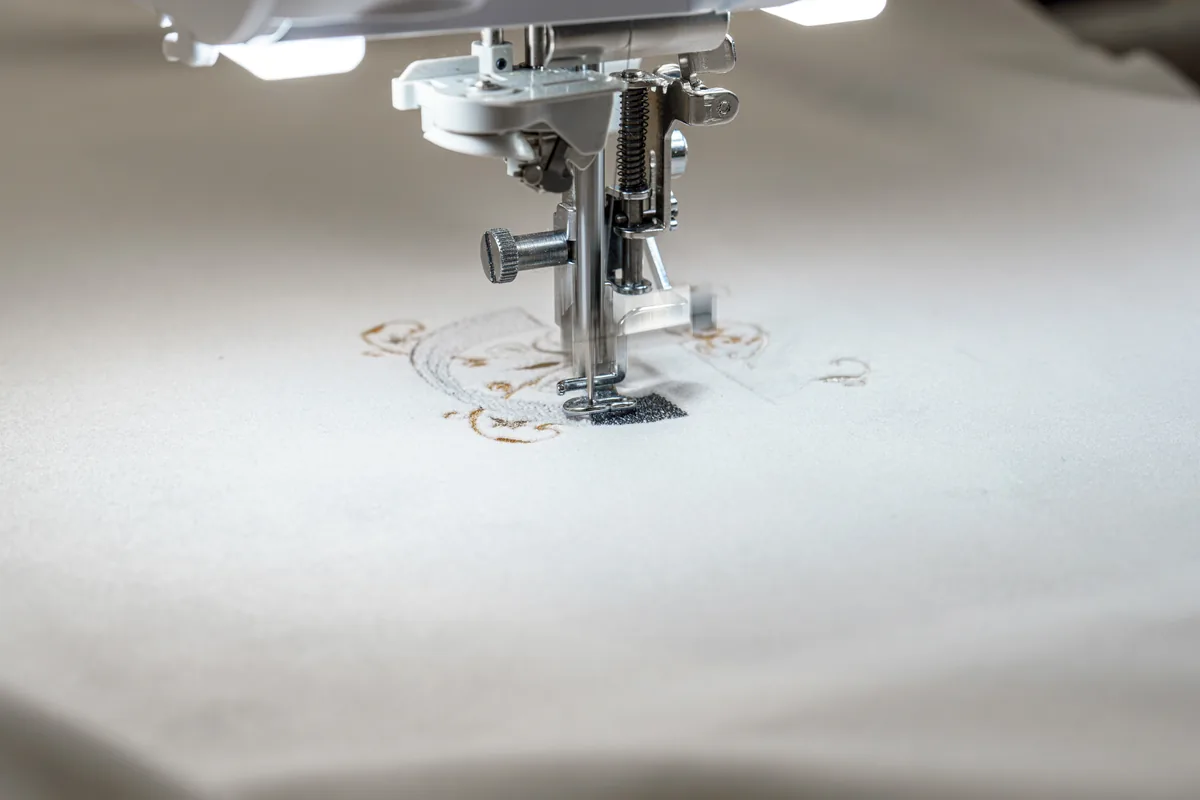
Flat embroidery uses stitched outlines and fills for logos, lettering and decorative motifs. The artwork must be digitized for its actual size, textile and placement. Review line thickness, small lettering, stitch coverage and backing on a sew-out rather than judging the result only from a screen preview.
- Flat lockstitch embroidery
- Logo embroidery
- Monograms and name personalization
- Satin, running and fill/tatami stitch structures
3D puff and raised embroidery
Raised embroidery can use foam beneath selected stitched areas to build relief. It requires artwork and digitizing suited to the shape, not simply a higher stitch count. Check letter widths, corners, foam coverage and textile support on a physical sample before repeating the design.
- Foam-backed 3D puff
- Raised areas combined with flat stitching
- Relief/volume created by material and stitch setup
Chenille, moss, loop and chain stitch
Chenille creates a soft looped surface, often combined with chain stitching or flat-embroidered outlines. Moss, loop and towel-look requests should be reviewed by their actual texture, loop height and edge treatment. A chenille effect made with cord is a related alternative, not automatically the same construction.
- Chenille/moss loop embroidery
- Chain-stitch embroidery
- Towel-look loop texture
- Chenille combined with flat outlines
- Chain/moss emblems and patches
Cording, couching, taping and coiling
These techniques secure cords, tapes or ribbons to create texture and outlined shapes. The added material and its stitch path are part of the design. Share the cord or tape reference, finished size and garment location so bends, joins, attachment and the feel against the textile can be sampled.
- Cording/couching
- Taping and ribbon application
- Coiling
- Soutache-style cord layouts
- Zigzag securing of decorative strips
Appliqué, reverse appliqué and fabric layers
Appliqué uses added fabric pieces with placement, securing and finishing stitches. Reverse appliqué reveals a layer beneath the top textile; raw-edge work uses a deliberately different edge finish. Confirm the layer materials, cutting outlines and visible edge treatment before reviewing the assembled sample.
- Fabric appliqué
- Layered and overlapping appliqué
- Reverse/back appliqué
- Raw-edge appliqué where the intended construction permits
- Cut fabric or felt shapes with stitched edges
Embroidered patches, badges and emblems
A patch is a separate component rather than a single embroidery technique. Its surface can use flat stitching, chenille or appliqué, with a border and backing selected for the garment. Define the finished shape, attachment method and location, then check both the patch and the applied result.
- Embroidered badges/emblems
- Chenille patches
- Appliqué patches
- Sew-on components
- Heat-applied backing where suitable
- Hook-and-loop backed components
- Cut or stitched border choices
Cutwork, eyelet and laser-assisted embroidery
Openwork combines controlled openings with stitching that stabilizes or finishes the edges. Include borer, laser-assisted or thermal-cut details as specialist requests, with the artwork, finished scale and intended edge appearance. The textile, support and production method need a feasibility review before the construction is confirmed.
- Borer/eyelet embroidery
- Broderie-anglaise-style eyelet layouts
- Cutwork finished with stitching
- Laser-cut appliqué and opening requests
- Thermal-cut textile-detail requests where compatible
Schiffli, all-over and lace embroidery
Share all-over, Schiffli or lace work as a fabric-stage request. Include the repeat, usable width and intended cutting layout, and identify whether the design retains a ground fabric, uses net or needs soluble support. The specialist format and sampling requirements are reviewed before the route is confirmed.
- All-over embroidery on retained base fabric
- Schiffli embroidery
- Embroidery on net/tulle
- Borer/eyelet fabric embroidery
- Lace on water-soluble support
- Borders and repeating embroidered yardage
Sequin and bead embroidery
Sequins and beads add components to the stitched surface. Their size, shape, weight and attachment affect appearance and wear. Keep machine-applied and hand-applied routes distinct, and review a representative sample for placement, attachment security, skin contact and the care requirements of the finished garment.
- Machine-applied sequins
- Seed-bead embroidery
- Mixed sequin/bead layouts
- Hand-applied beads or sequins where separately arranged
Thread finishes, fringe and decorative textures
Thread material, finish and stitch structure change the look without necessarily changing the embroidery family. Metallic, matte, heavy-thread and fringe effects need their own sample checks. Confirm the intended shine, texture and contrast, then review definition, support and loose-thread finishing on the chosen textile.
- Metallic thread
- Matte or lustrous thread
- Thick/wool-look thread texture
- Fringe or frayed-thread embroidery
- Tone-on-tone or multicolor layouts
Hand embroidery and couture embellishment
For tambour beading, goldwork, silk shading or other specialist handwork, provide a design or physical reference with the texture, materials and placement you want. The requested technique, sampling work and production responsibilities need review before the work is confirmed in the quote.
- Tambour/Lunéville beading
- Hand beadwork and sequin work
- Goldwork/metal-thread embroidery
- Silk shading/thread painting
- Hand monogramming and selected dimensional work
Mixed-media embellishment
Mixed-media designs combine methods rather than creating a new stitch category. Printed details, embroidery, appliqué and applied crystals may need a particular sequence. Separate stitched components from hotfix or glued elements, then review registration, heat compatibility, attachment and care on a combined sample.
- Embroidery combined with print
- Crystal/rhinestone hotfix
- Sew-on crystals or decorative components
- Combined appliqué, cord, bead or sequin treatments
What is ready for the decoration review?
Direct stitching, a patch and a specialist texture need different starting details.
Give the logo a physical size.
A visual file does not yet describe a stitch program. Add dimensions, placement and the garment reference so detail, digitizing, thread and support can be assessed before the stitch-out is approved.
- Artwork and version
- Actual size and placement
- Garment fabric and construction
Show how the surface should feel.
Share a close-up or physical example of the raised, plush, layered or embellished result. Identify the important details and distinguish the texture from its attachment, so the sample answers the right questions.
- Texture, height and edge reference
- Thread, cord, fabric or applied materials
- Sample and care checks
Define the badge and its attachment.
State the patch construction and where it will be applied. Include outline, border, backing and attachment preference, plus the garment material and care requirements. A badge sample and an applied sample may answer different questions.
- Patch type, size and shape
- Backing and attachment route
- Garment surface and supplied quantities
Prepare the artwork and garment together
Describe both the decoration and the surface carrying it.
Artwork and texture
Provide the logo or motif and a reference for stitch, relief, texture or applied materials. Identify any existing digitized file.

Scale and position
Give dimensions, garment view and placement measurements. Flag seams, pockets or linings that could affect access.
Garment and support
State fabric and construction, and explain which goods, threads, patches or trims you plan to supply.
Units and approval
Break down units and variants. Define thread colors, names/numbers, sample, attachment and care acceptance.
Digitizing, patch making, specialist materials and attachment should be itemized when they are separate parts of the job.
From embroidery artwork to a finished decoration
Review thread, texture and placement on the intended textile. Compare garment printing options where another surface treatment may suit the design, and connect private label and packaging with the final brand details and garment presentation.
Good questions
Embroidery and embellishment questions
Clear answers before the work begins.
Is my logo file ready for embroidery?
Artwork and a stitch program are different inputs. Send your visual file, final size, garment reference and any existing digitized file. The review identifies digitizing or adjustment needed before stitch-out approval.
Can very small text and fine details be reproduced?
The result depends on design size, stitch structure, thread and garment surface. Mark the details that must remain legible. A sample may show that lettering, spacing or scale needs adjustment; there is no universal minimum to assume.
Should I choose direct embroidery or a patch?
Compare the intended look, fabric, garment access and attachment. Direct work is made on the garment or panel; a patch has its own construction and application step. Share a reference so both decoration and finished garment can be assessed.
What determines setup, quantity and timing?
Design complexity and size, materials, placements, variants, units and approvals affect the quote. Digitizing, tooling, patch construction, specialist hand work and attachment may need separate scope. Confirm the basis for the actual project.
Your project, clearly defined
Show us the design and texture you want
Send artwork, final dimensions, placement, garment details and quantities. Add a texture reference or existing stitch-out where available, and identify any supplied patches, beads, trims or garments so the sample and production work can be reviewed together.
Send what you have and mark what still needs development. The quote will identify the next steps for your product.